The pain of stain.
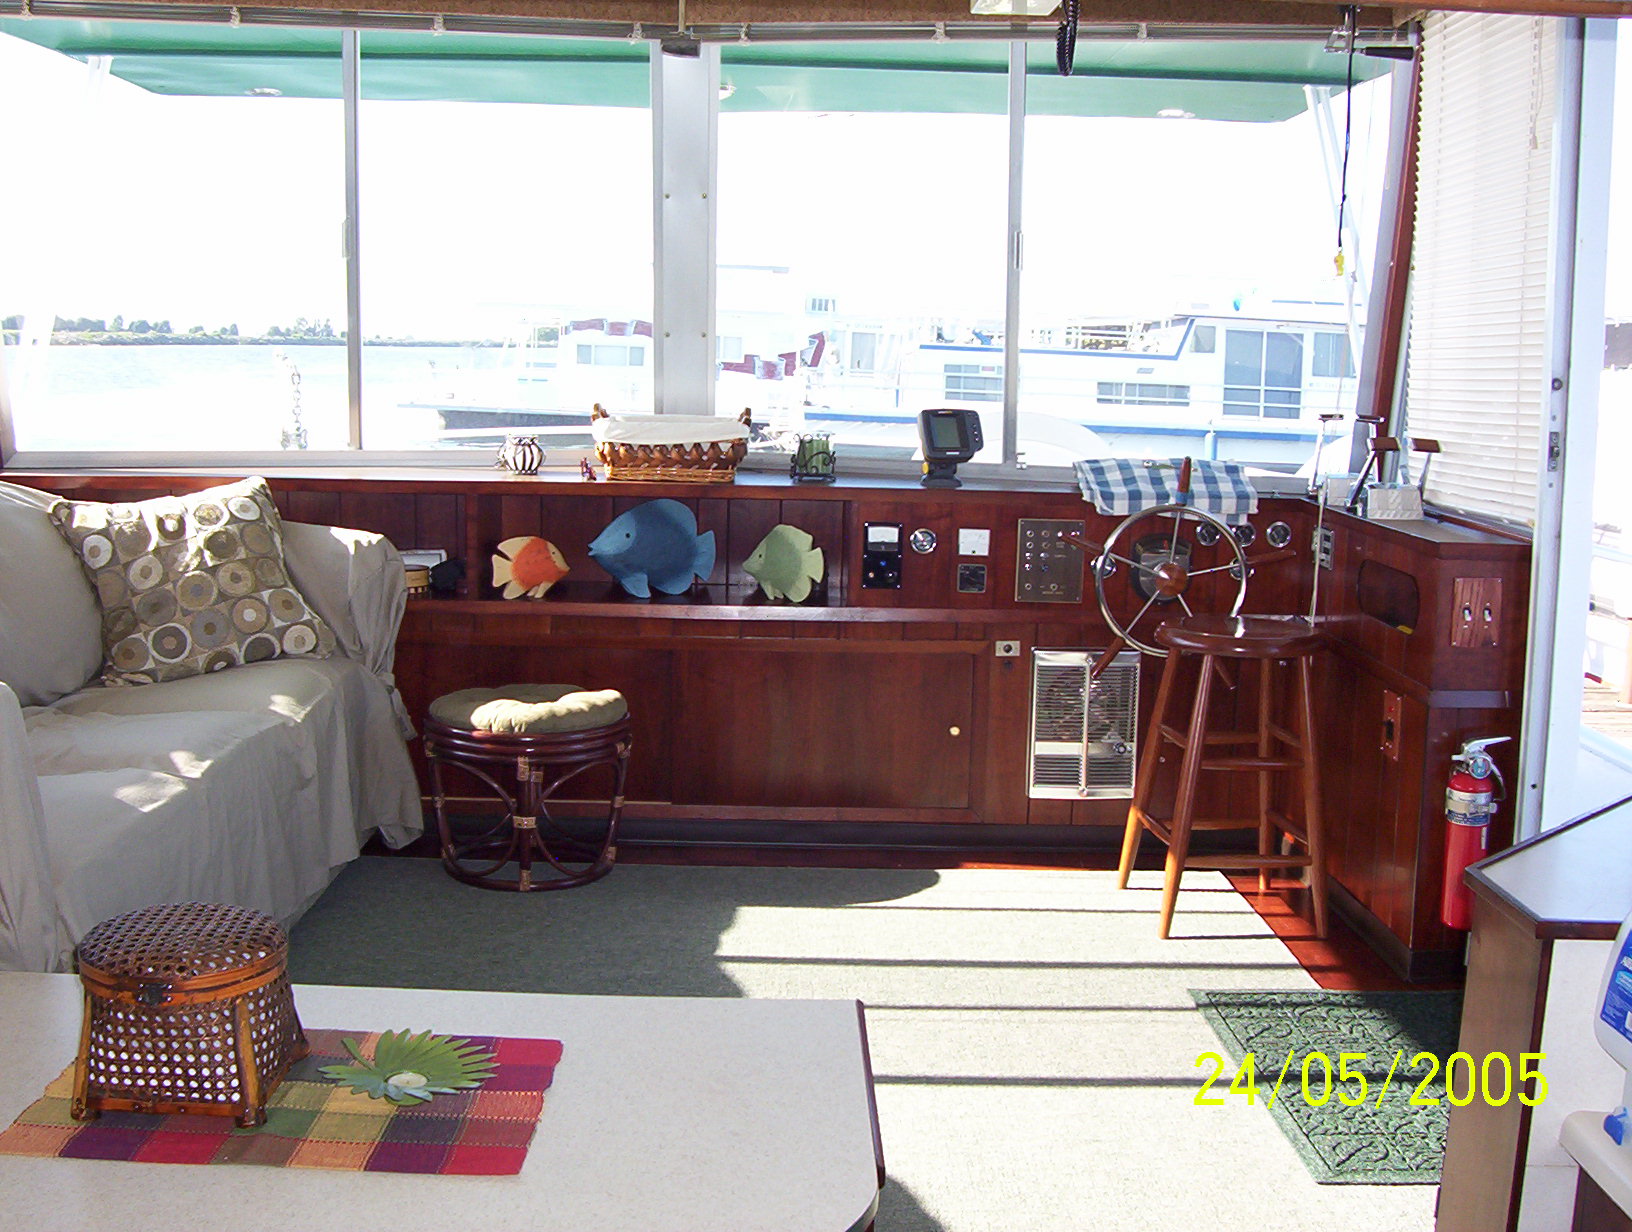
Ok. So now you have a boat that=s over 30 years old... What do you do with all that lovely old wood in the galley, salon and other living areas? Well ok maybe your wood is lovely but mine looks like hell. No really, to be fair, the wood in my boat is wonderful, you just have to look past the previous owners half assed stain job, all that built up cigarette smoke, a bunch of water stains, the mildew and the unsightly holes put there by the five previous owners...
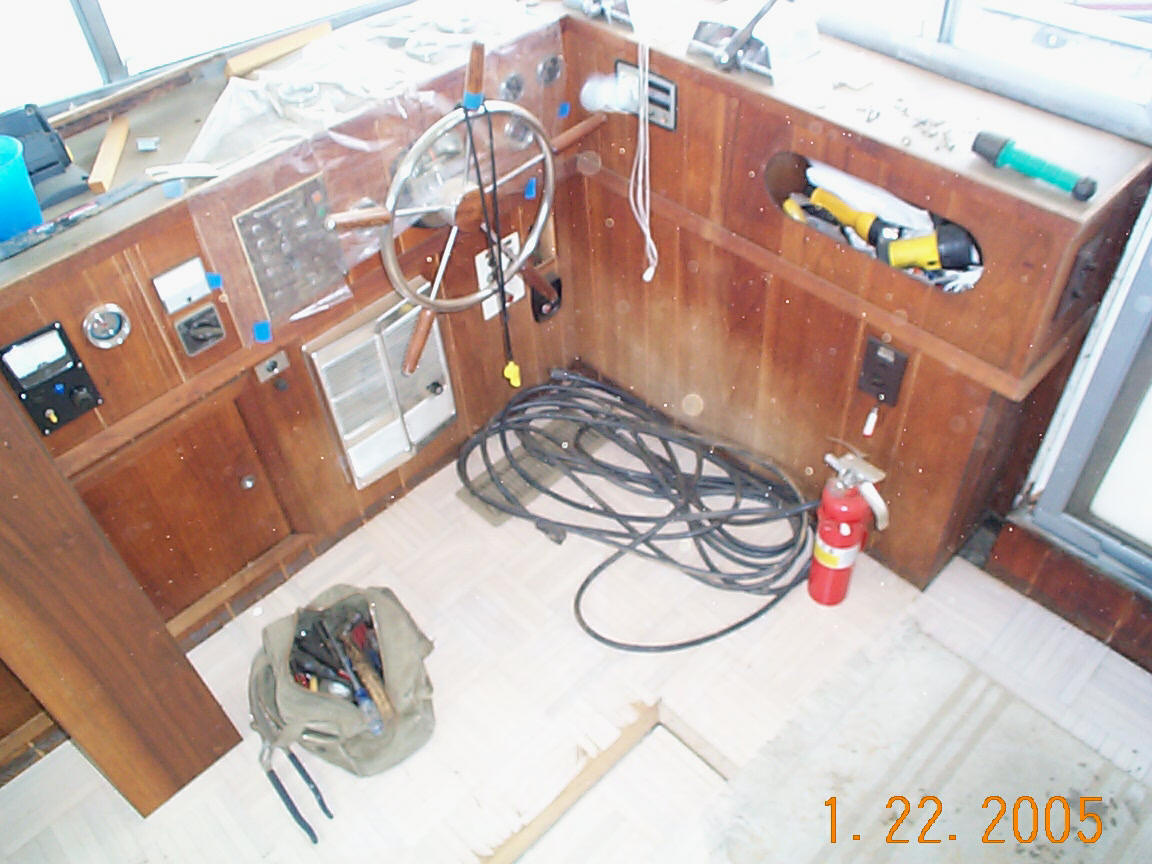
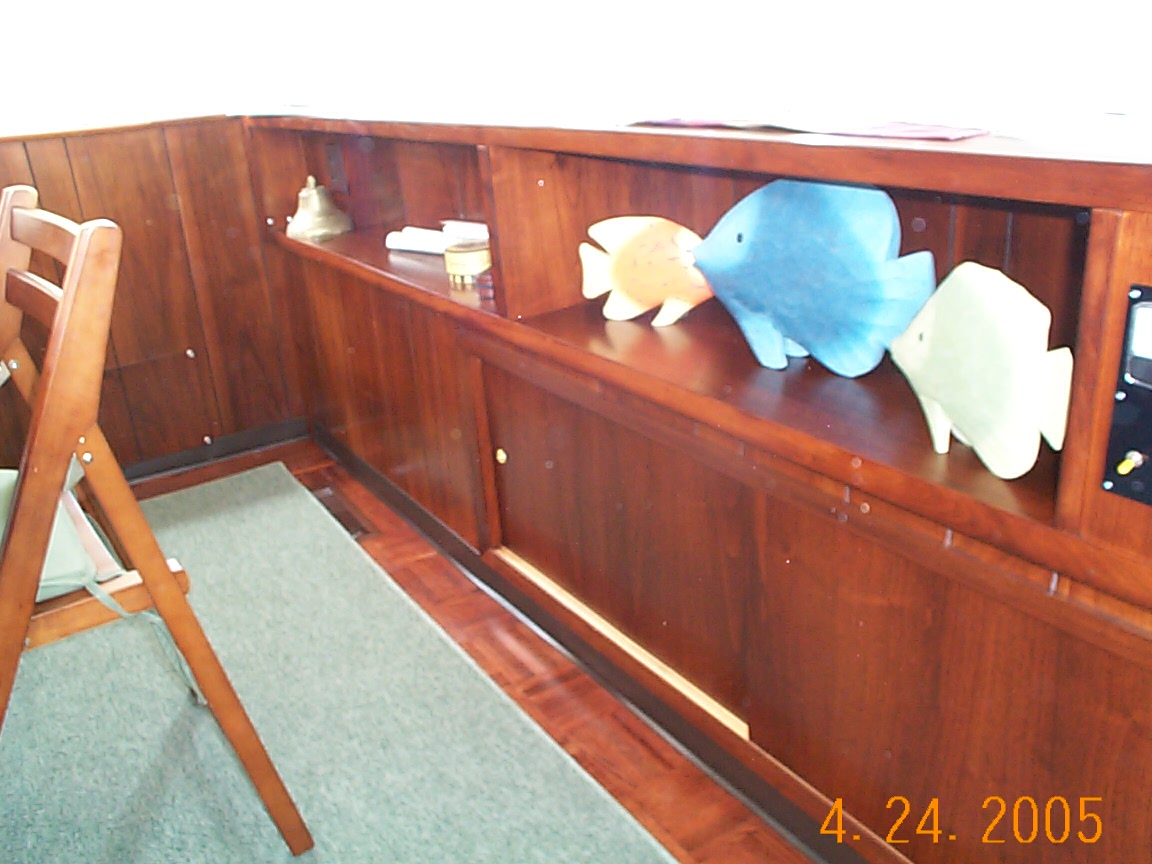
Got to have a before shot. Note the crappy white stain on the floor and the old faded stain along the bottom.
To restore the wood surface to its natural beauty will not be easy. I have got my work cut out for me to be sure. But not to be daunted, oh no... we have to revisit my age old philosophy, the one I have been invoking during every stage of this whole refit project, just keep saying AIt=s just my hobby. No rush, no fuss.@ While I=m working on the project, it=s Ame-time@ unless my wife Deborah is helping. Then in which it=s Aus time.@ When working with wood, or in my case, lots of wood, you have to do things in stages and take your time. Let things dry completely. Be slow and precise in your movements. Below I=ll walk you through my stages of progress. As I have said before in other chapters on other projects this may not be the best way. It=s just my way. You decide and do it your way...
Stage one:
Plan your job out. I would suggest that if you have a large boat that you don=t just tear in and do the whole boat at once. That would be too big a job. In my case I did the galley last year. This year it=s the helm area. I think it=s called the >bridge deck.= This way it doesn't=t take me the whole season to do it. We have to sneak in some boating don=t we?
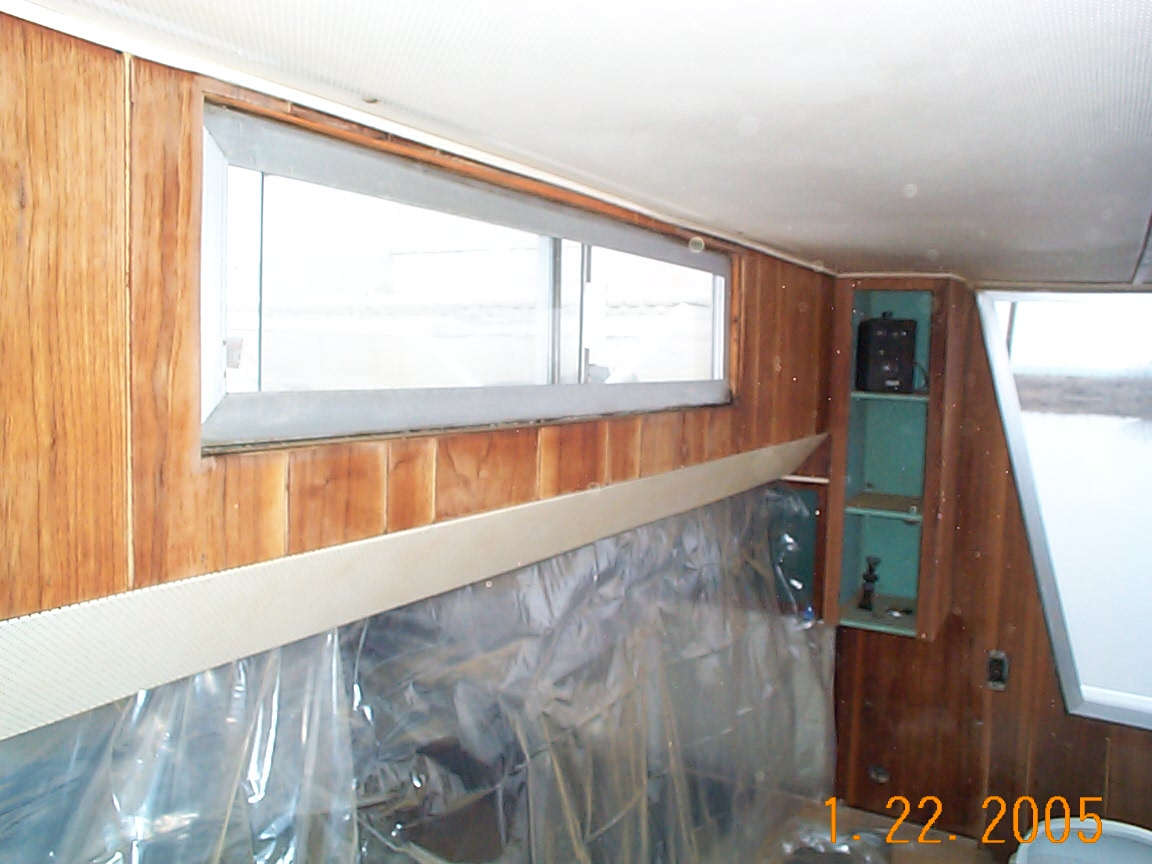
Remove everything that doesn=t need to be in the area. Pictures, signs, charts... everything. I put everything in a big footlocker sized tub with a lid and slid it under a berth in the back. Next we erected a plastic drape between the bridge and the galley to stop the easy flow of sanding dust to non- effected areas of the boat. Who am I kidding. All areas of the boat get effected but the plastic helps greatly. Last time when we did the galley, no plastic wall and oh-my-god was my wife pissed! What a mess! We made an overlapping flap to walk through and sealed all the edges with blue low stick tape and some good old fashioned packing tape on the parts not touching wood. Also when working be sure to keep a window cracked in the clean area for a positive air flow in the right direction.
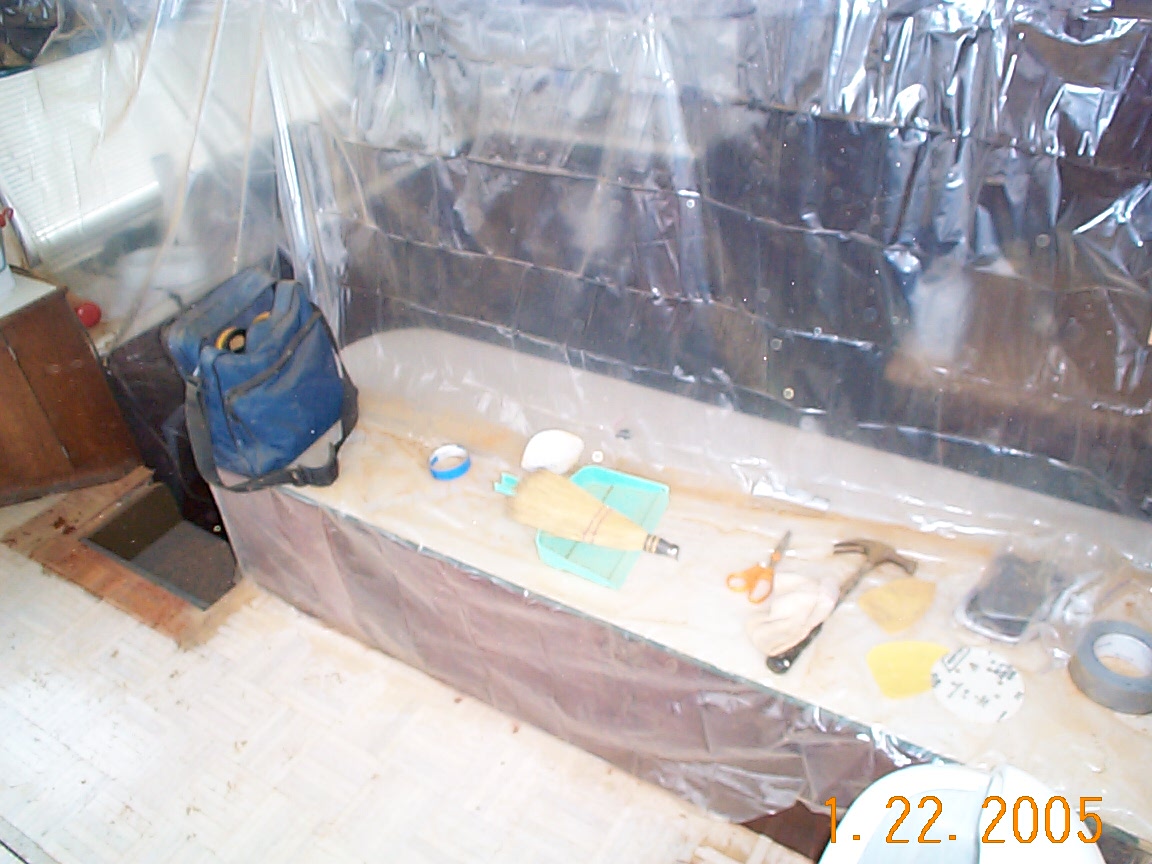
Plastic wall to minimize the fine dust that will get absolutely everywhere!
Stage two:
The tear down. Sounds harsh right? Well call it de-install then. Any way you say it just be careful when removing all the trim, switch covers and things. Removing all the trim makes the job finish out better and easier when sanding. I removed all the nice solid walnut trim pieces to home. Less chance of busting one. Everything you do in this stage is in preparation for the next which, in my opinion, is the hardest. Sanding. If the wood you=re working on is dirty your sandpaper may not last and clog up. You may want to wipe down all surfaces with a mildly soapy washcloth and let dry completely.
Stage three:
Everything up until this point has been easy. A walk in the park. Duck soup. If you own a boat and I know that you do or you wouldn=t be reading this... You probably know that sanding is a big pain in the patoot. As well as your fingers. So it=s best to use as much specialized machinery as possible. The first and foremost tool to use is a good dust mask with a good seal. I just used a particle mask with a bandana over top to help hold it in place. Do as I say not as I do. You should use a good mask. Oh and protect you ears too. I plug in my MP3 player and blast music into my head phones loader than the sander. No ear protection there but it sure sounds better then that damn sander!
I open a large window on the lee side and put a fan in it blowing outward, then open another window to windward to help evacuate suspended dust particulates. When sanding the field (bigger areas) I use an electric vibrating finishing sander. 220 grit. Use long easy strokes but don=t go too far afield. Stay to one section at a time. Never sand a little here and then a little there. Stick to the one section til it=s finished. Then move on to the next. Let the sander do the work for you. Don=t force or push too hard on the sander. As long as you have good paper on the tool it will do all the work for you. Well not all the work, you do have to push it around a little. Every few minutes inspect your work by wiping it with a cloth, then use a soft brush on your sandpaper to dislodge any build up. This will increase the mileage of your paper. Don=t be a cheapskate! Change your paper frequently. Nothing like new fresh piece of sand paper! If I were rich I=d change up paper every 5 minutes, but then again if I were rich I=d have somebody else pushing around the sander.
Now that you have made a big mess with the vibrating sander, put it down for a while and pick up its little brother, the corner sander to do the edges and tight spots. This little guy is worth the money! But he eats the sand paper faster than the other one! On the tip anyway. Be sure to keep an eye on it and change up as often as needed. Then of course there=s sheet paper and boney fingers.
Stage four:
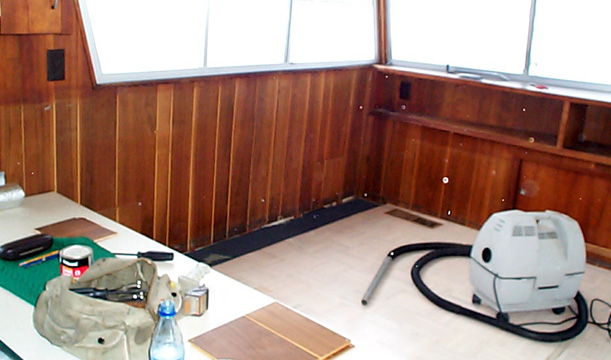
Just when you think you=re done with all the sanding. Stop and clean up all the dust, put some things away. Clean the vacuum filter out. Regroup if you will and review what you have done. Now some may not agree with me on this step of the game but this is what I do. Fill a bucket half full of hot water. No soap! Take a old used wash cloth and wipe down all your work. Don=t let the wood get too wet but enough to lift out all the dust and let you see the beautiful natural wood. This is when you say to yourself... AMy god! Look at that wood!@ The warm water will help lift the grain. Speaking of lifting grain this is also a good time for a beer or two. You=re thinking Awhat about all the oddball holes from picture frames?@ No hole patching yet.
Once the wood was wiped down I could see the spots I missed.